
Contacts and Contact Groups
Bring your lists in, keep them clean, and see every call, note and message for a person on one timeline.
Contacts are the people and numbers your campaigns dial, message or fax. You'll find them under CRM > Customer, in three screens:
Prefer to watch? The built-in CRM in ICTContact. The screens show the ICTContact name because ICTCRM runs on it.
- Contact Groups: the lists a campaign selects.
- Contacts: the individual records, with import, export and a timeline.
- Company: the organisations you link contacts to.
A campaign always dials a group, never a loose contact. So the usual order is: create the group, load it, then pick it in the campaign wizard.
Contact Groups
The list shows Group Name, Description, Total Contacts, Total CNAM and Operations. The top buttons are search, Add new and Refresh.
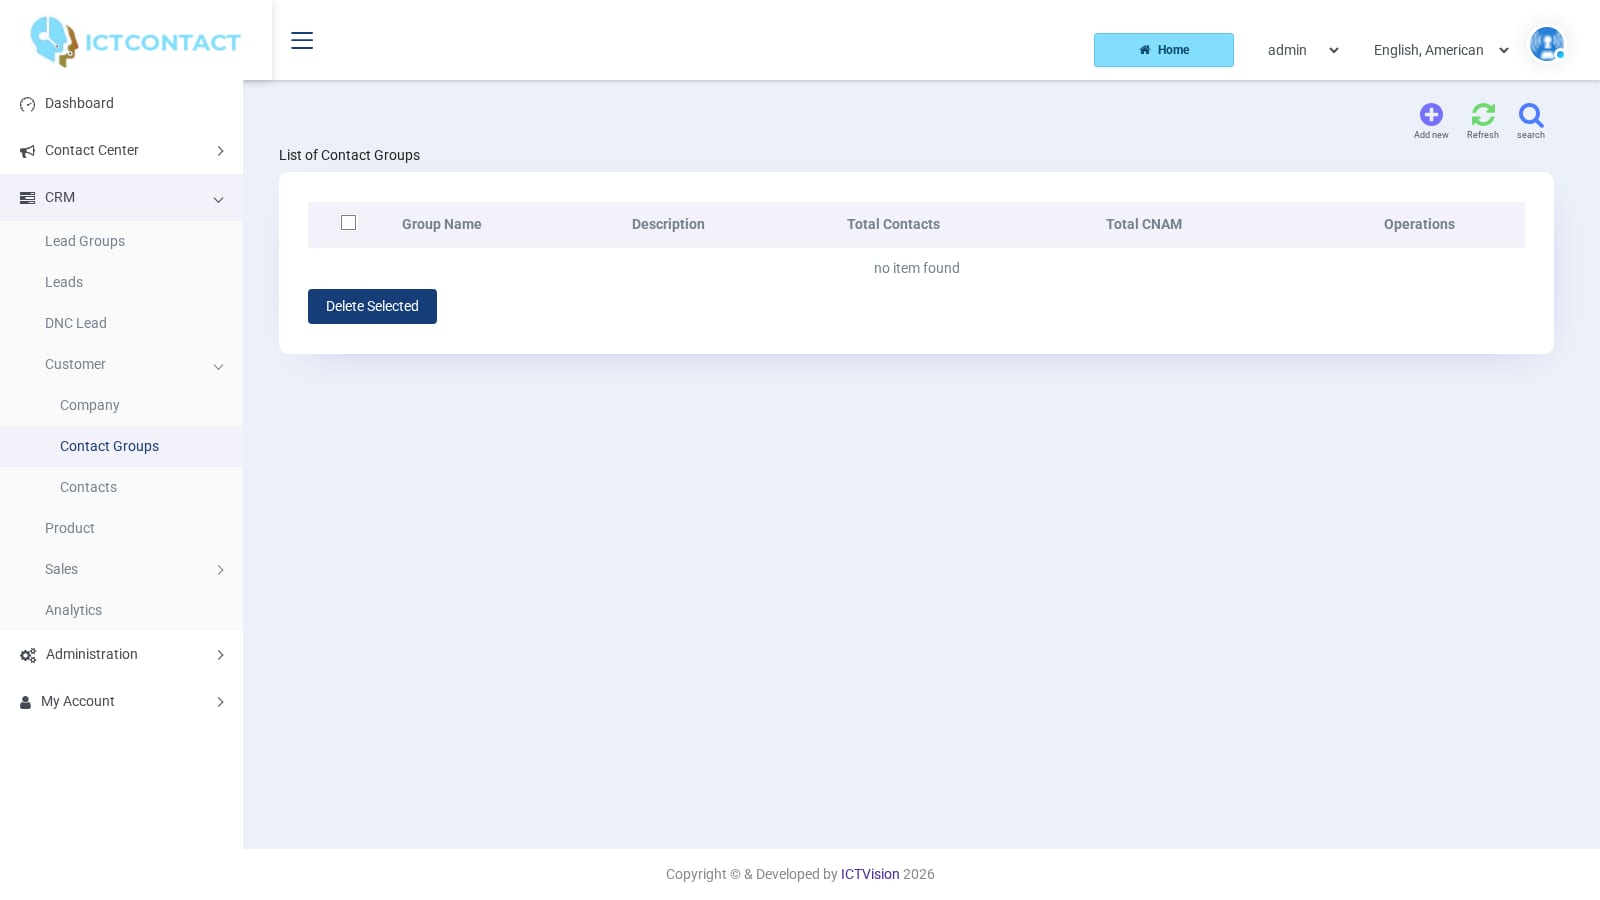
The row icons, left to right, are:
- Edit Contact Group
- View Contacts in this Group
- Search and delete unwanted Contacts from this group
- Start a process to create or update CNAM database for this Contact group
- Drop all CNAM records associated with this Contact group
While a CNAM run is in progress, the start icon changes to Stop CNAM update process. Delete Selected removes the groups you've ticked.
The search panel filters on Contact Group, Description, Total Contact, Total CNAM and Date.
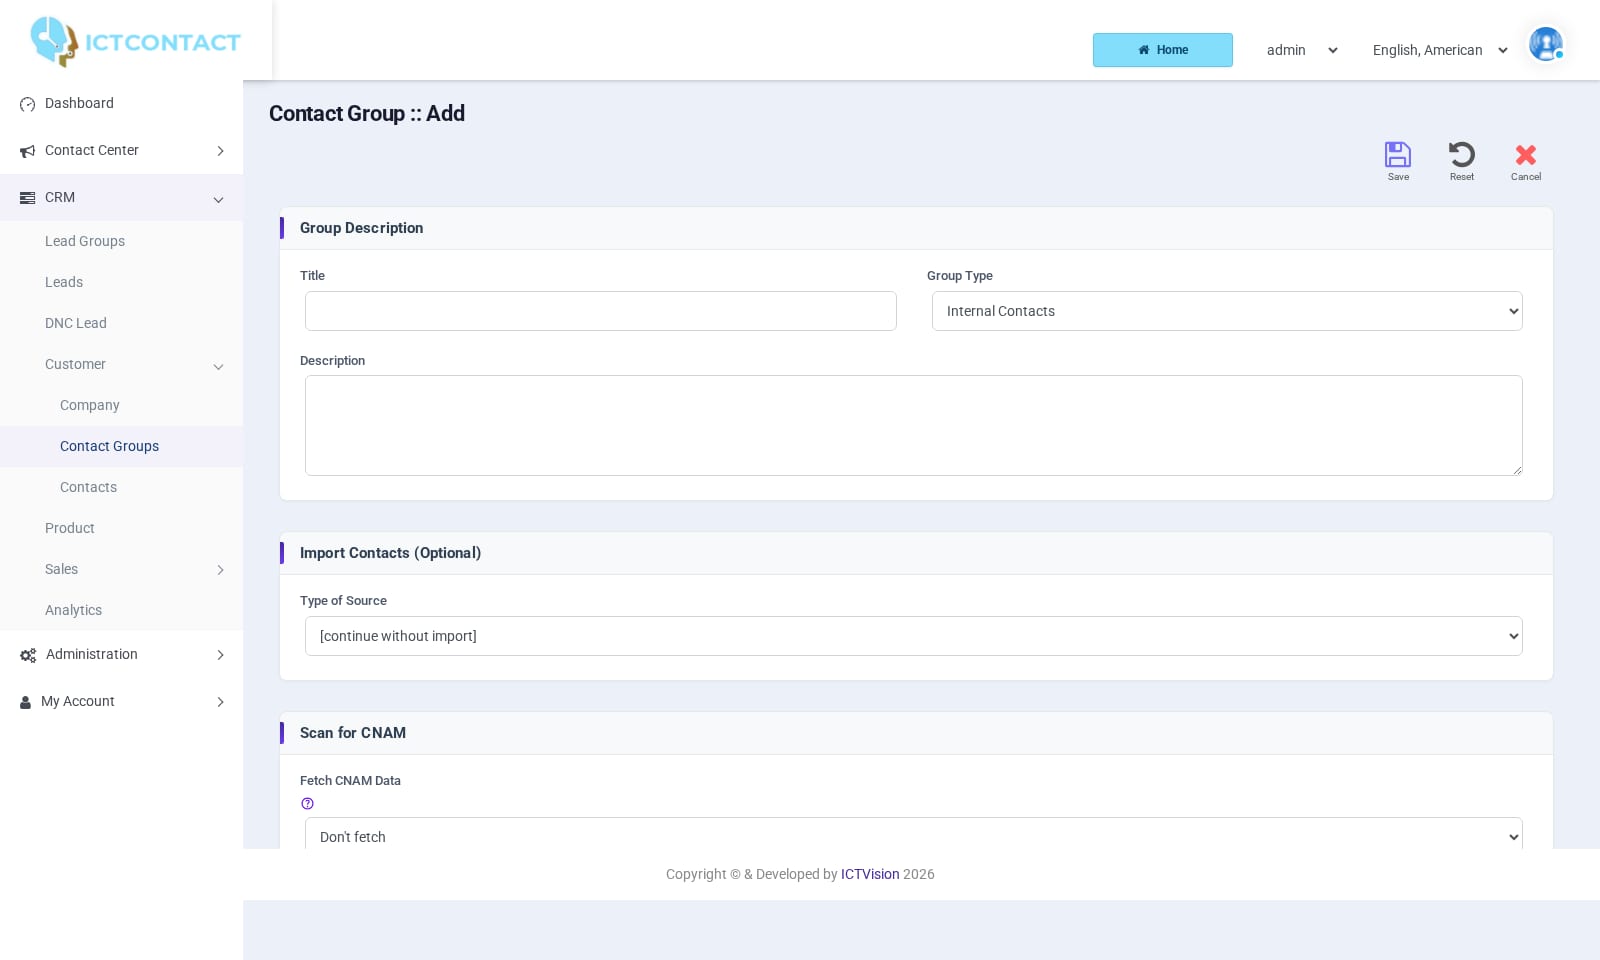
Add a group
- Click Add new.
- Under Group Description, enter Title (required) and Description.
- Leave Group Type at Internal Contacts for a list you load yourself. The other entries are CRM feeds (Zoho CRM, Salesforce, Pipedrive and so on). If you choose one, the import section is replaced by that CRM's connection fields, and the records are pulled when a campaign using the group starts. The CRM Integrations Guide covers those.
- Under Import Contacts (Optional), set Type of Source:
- [continue without import]
- Upload Contacts via standard file: a CSV laid out like the Example File, Contact_sample.csv. That's phone, first name, last name, email, address, then up to eight custom values.
- Upload Contacts via custom file: any CSV. Fill in CSV Format: Column Separated By (default comma), Column Enclosed By (default double quote) and Rows to Skip (default 0, set it to 1 if the file has a header row). After Save you get the mapping page.
- Copy Contacts from existing Groups: tick one or more Source Groups.
- Under Scan for CNAM, choose Don't fetch or Fetch CNAM Data.
- Click Save.
Once you save, Group Type is fixed. You can edit Title and Description later. You can also import more contacts into an existing group from the Contacts screen (Import button, Target Group).
Custom CSV mapping
On the Map Contact fields with CSV page, every CSV Column # has a dropdown of contact fields, with a sample value from your file beside it. Pick the matching field, or [ignore this field] for columns you don't want. Phone is the only field a contact must have.
The dropdown also includes Custom Value #1 to #8. These are stored with the contact and used in campaign tokens. They carry whatever names the administrator has given them in the system configuration.
Filter Contact: clean a group
The funnel icon opens a form that deletes matching contacts from the group. Every dropdown defaults to [doesn't matter], so only set the ones you mean.
- Contact Filter: Phone number (Invalid or no phone number), Email address (Invalid or no email address).
- CNAM Filter: CNAM Record (Invalid or no CNAM record, No CNAM record, Invalid record), Contact Type (Landline, Wireless / Mobile, Pager, VoIP, Other), Ported Contacts (Ported, Not ported).
- Filter contacts: Do Not Call Registry (DNC) (Listed in DNC), Duplicate Contacts (Duplicate phone numbers or Duplicate email address) with Which copy of duplicate (Older copies or Newer copies).
Click Filter to run it. A typical clean before a campaign looks like this: Phone number = invalid, DNC = Listed in DNC, Duplicate Contacts = Duplicate phone numbers, Which copy = Older copies. The CNAM options only work after the group has been scanned.
Start and Reset CNAM
A CNAM lookup asks the configured provider for the subscriber name, carrier, line type and ported status of each number.
- Start CNAM launches a background process for the whole group. The Total CNAM column on the list counts the records fetched so far.
- Stop CNAM halts it.
- Drop (reset) deletes the stored CNAM records for the group, so a fresh scan can run.
You can refresh a single contact from the Contacts list with Update CNAM record, and look at it with View CNAM record. That view shows CNAM owner info (Name, E-Mail, Address, City, State / Province, Country, Country Code) and CNAM Technical Details (Carrier Name, Service Type, Status, Ported, Company Number (OCN), Time Zone).
None of this does anything unless a CNAM provider is configured on the node.
Contacts
CRM > Customer > Contacts lists every contact. The columns are Profile Image, First Name, Last Name, Phone, E-Mail, Role, Status and Operations. The row icons are View activity timeline, Edit Contact, View CNAM record (when one exists) and Update CNAM record.
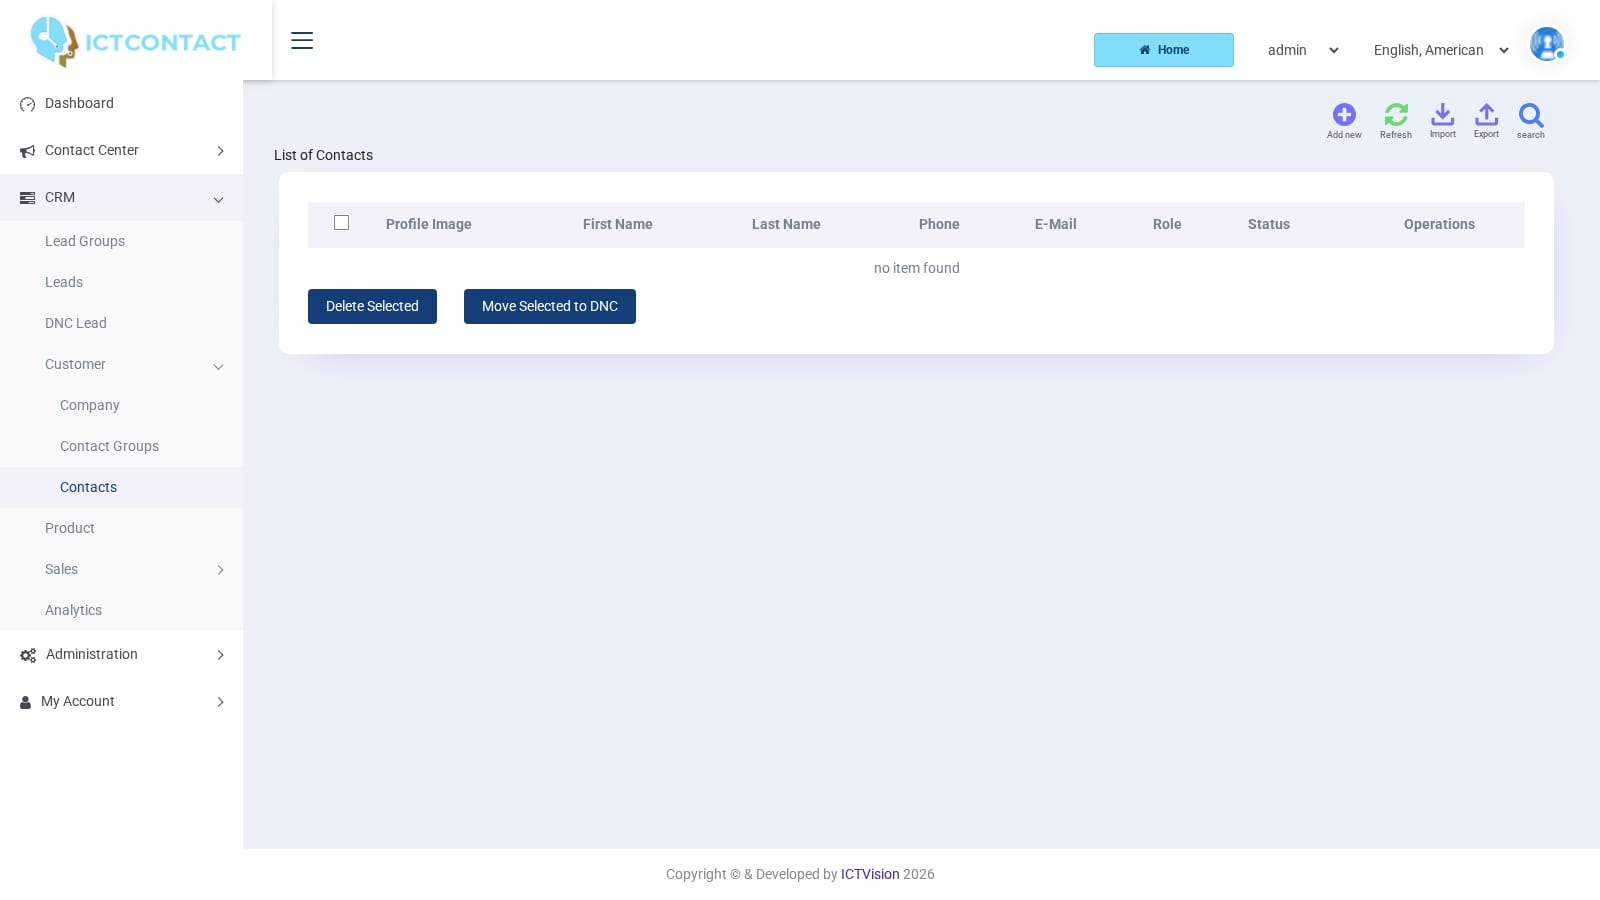
Below the table you've got Delete Selected and Move Selected to DNC. Move Selected to DNC adds the ticked numbers to your DNC list and removes them from Contacts.
The top buttons are search, Add new, Import, Export, Timeline and Refresh. Export downloads the current filtered list as CSV.
The search panel has Contact Group, Name, Phone, E-Mail, Tag, Assigned Agent, Filter ([No Filter], [Invalid Contacts], [Duplicate Contacts]), Date, Saved Segment, Segment action (Apply or Delete) and Save search as. Admins also see Client. Save search as stores your current criteria under a name. Later, pick that name in Saved Segment and click Search.
Add a contact
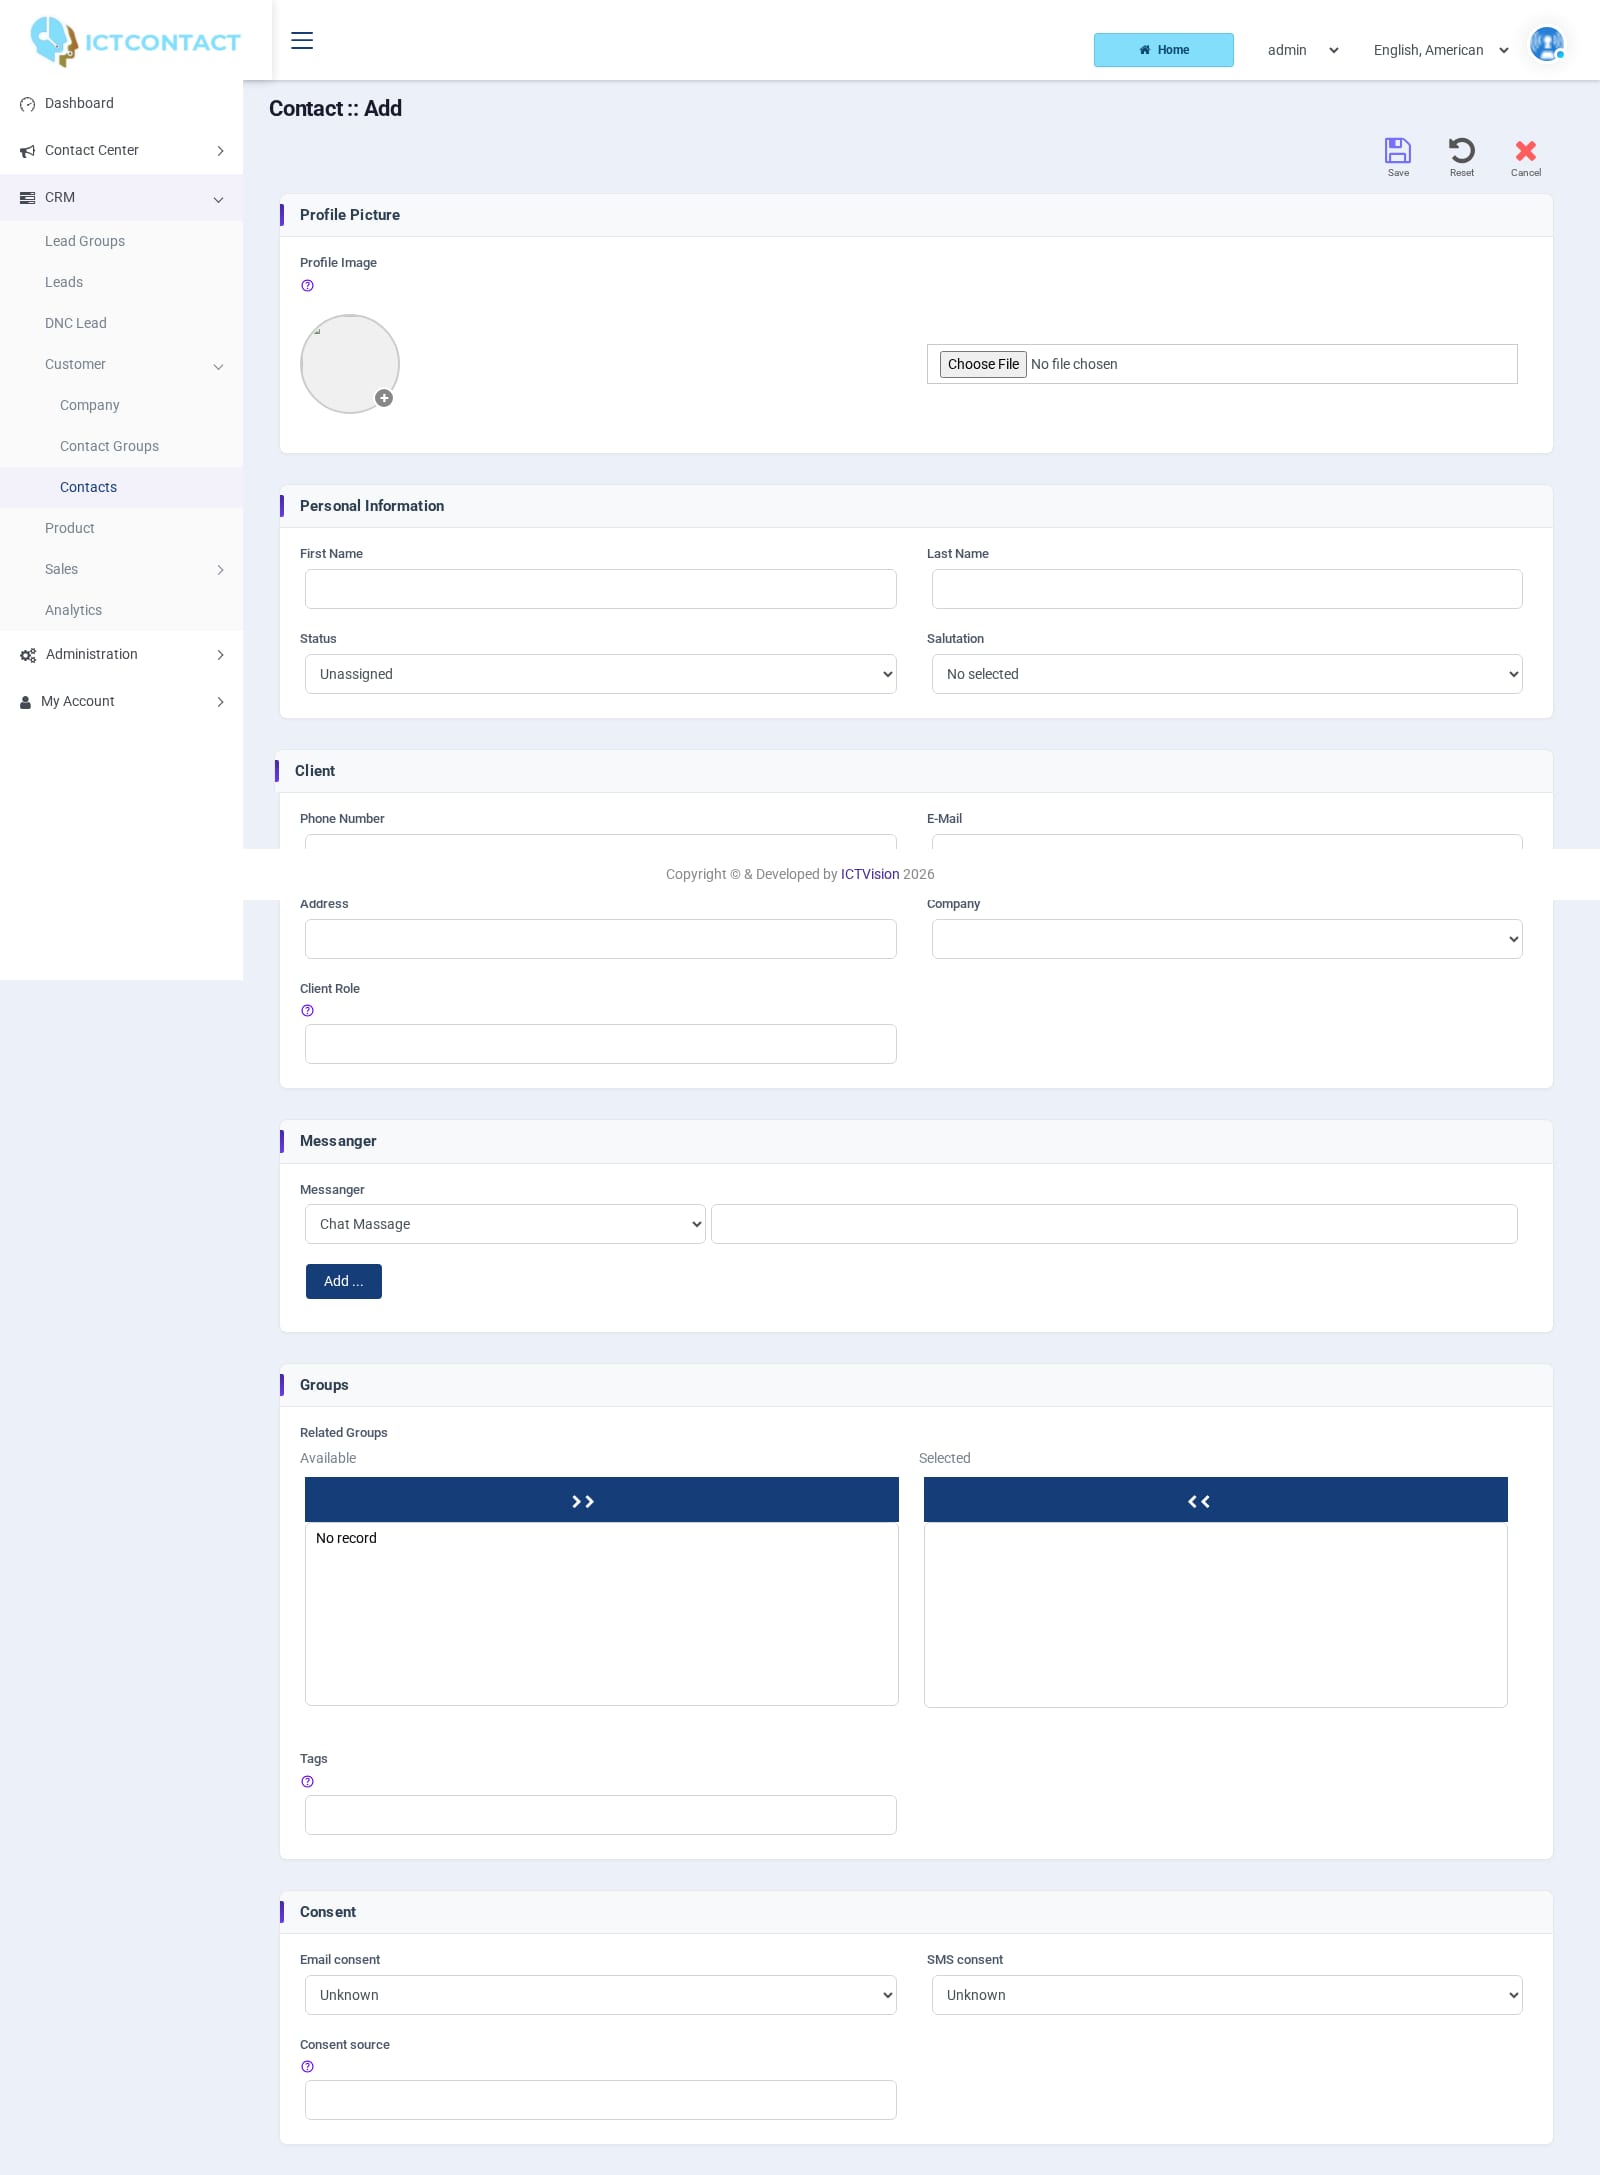
- Click Add new.
- Profile Picture: an optional Profile Image (JPG, PNG, GIF).
- Personal Information: First Name, Last Name, Status (Unassigned, In Progress, Processed, Junk Lead), Salutation (Mr., Mrs., ms., Dr.).
- Client: Phone Number (required), E-Mail, Address, Company (from CRM > Customer > Company), Client Role.
- Messanger: choose Chat Massage, Whatsapp or Skype and enter the handle. Add ... shows another row.
- Groups: Related Groups (multi-select) and Tags (comma separated, e.g. vip, callback, urdu).
- Consent: Email consent and SMS consent (Unknown, Yes, No) and Consent source. Once it's set, the date of the last change shows next to the source.
- Additional Data: this only appears if the administrator has defined extra fields for the account.
- Click Save.
A contact has to belong to at least one group to be dialled. If you add it here without a Related Group, the record is created but no campaign will see it.
Import
The Import button opens three sections:
- Import Contact From: Type of Source, Upload contact's File, Example File, Source Groups.
- CSV Format, for custom files.
- Import Contacts Into: a required Target Group, and Fetch CNAM Data.
Custom files go through the same mapping page described above.
Duplicates and merge
Set Filter to [Duplicate Contacts] and click Search. The view lists First Name, Last Name, Phone, E-Mail and Date for every record whose phone appears more than once. There are four buttons:
- Delete Selected.
- Merge Selected (keep latest). For each phone number it keeps the newest ticked record and copies in any empty fields from the others. It moves their history, notes, tags, groups and campaign entries onto that record, then deletes them.
- Delete Duplicate (keep latest) and Delete Duplicate (keep old). These delete without merging.
Before you click Merge, tick at least two records that share a number. Otherwise you'll get "No duplicates found among the selected contacts".
Timeline, notes and messages
Click the first row icon or the Timeline button to open Contact Activity. The card at the top shows Name, Phone, E-Mail, Type (lead, contact or deal), Status, Stage, Assigned Agent, Lead Score and Tags. Below it you'll find:
- Add Note: a Note box with Save Note. Each note carries its author (user or agent) and shows in the list.
- Send Message: Via Campaign, a dropdown of your SMS and email campaigns, and Queue Send. The contact goes into that campaign's spool. An active campaign sends straight away. A stopped one sends when it next runs.
- The activity list, newest first. It shows:
- calls, faxes, SMS and emails, with the campaign name and a Recording link where there is one
- delivery events (Sent, Delivered, Undelivered, Failed, Opened, Clicked, Bounced, Spam complaint, Unsubscribed, Replied)
- SMS replies
- dispositions with the agent's comments
- notes
- inbound or outbound chat messages
The buttons on this page are Edit Contact and Go back.
Company
CRM > Customer > Company holds organisations. Contacts, leads, deals, quotes and invoices can all point at one. The list shows Company Name, Phone, E-Mail and Operations, and the buttons are search, Add new and Refresh.
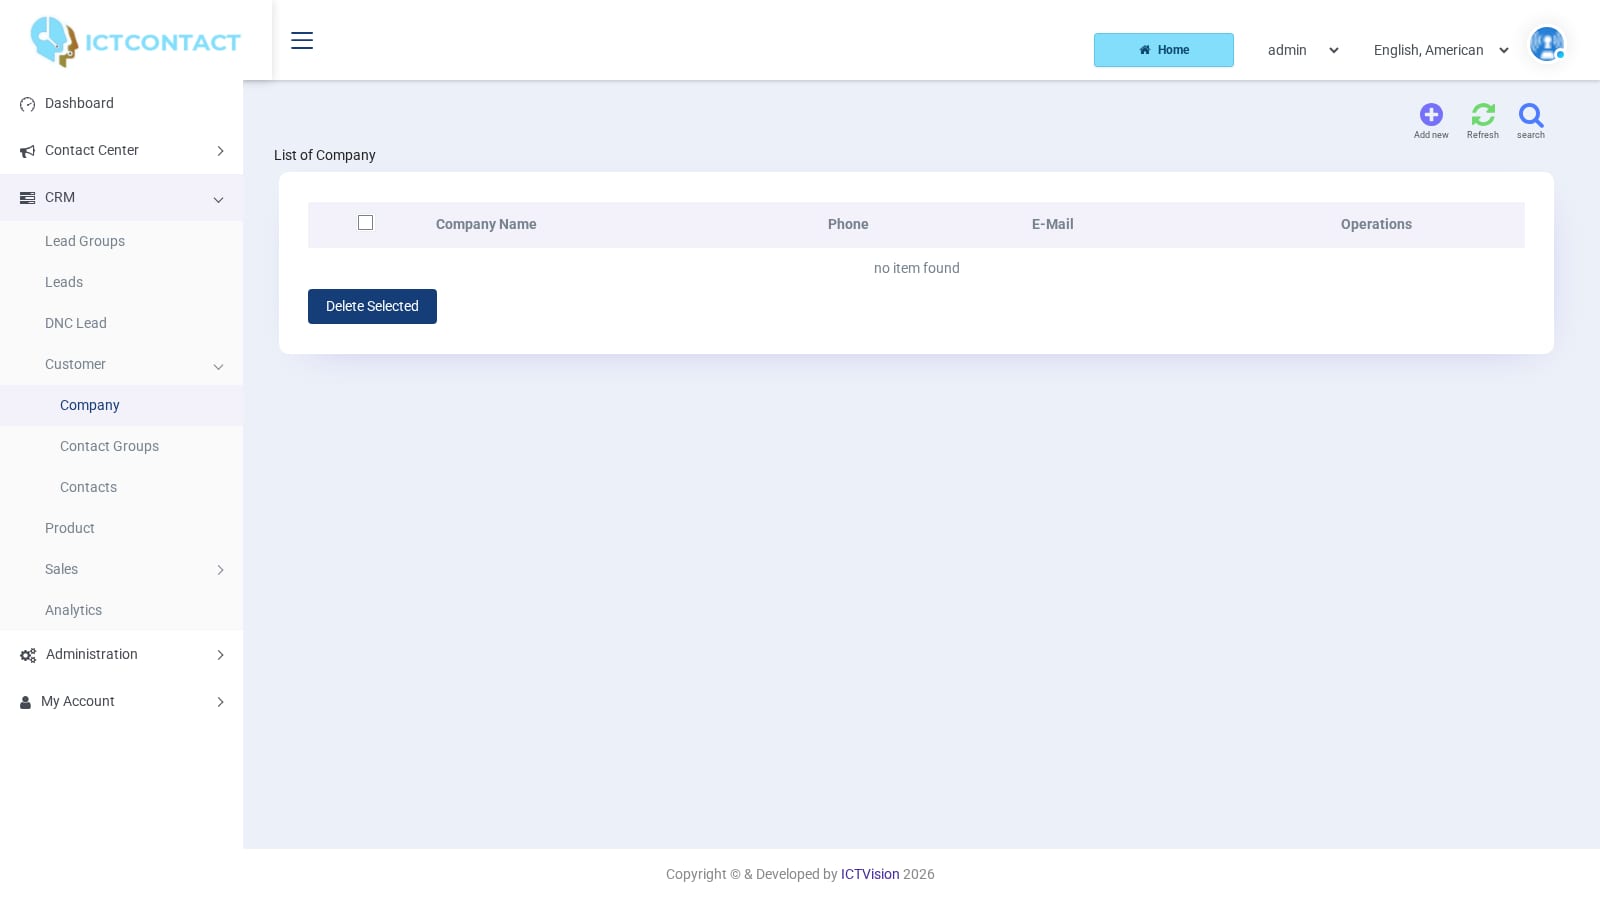
The form sits under Company Information: Company Name, Company Type (Client, Competitor, Partner, Other), Phone Number, E-Mail, the Messanger rows, and an Address block. In the Address block, Details switches between Company and Person and reveals Delivery address, Street Address, Person First name, Person Last name and Person Status.
About the built-in CRM
Contacts, leads and deals are one record type with a marker. That means a record moves from Leads to Contacts or Deals without being copied, and its timeline, notes, tags, assigned agent and lead score go with it. Everything on this page runs inside ICTCRM. There's no separate CRM server to install. If you already run a CRM, you can pull the same contacts in through a CRM-type contact group and push call results back through an Integration (see the CRM Integrations Guide).
Stuck on something this guide does not cover? Open a support ticket or browse the other guides.
Try the live demoSee pricing